If you’re looking for ways to avoid chemicals in your laundry and help the environment, homemade dryer balls are a great alternative to disposable dryer sheets. Plus, in addition to saving costs and the environment, they’re a fun way to spend quality time with the kids or grandkids. From DIY to D-R-Y, learn how to make wool dryer balls in five minutes with these step-by-step instructions.
1. Use 100% wool yarn
Baa baa black sheep, have you any wool? If you plan to make homemade dryer balls, you’ll want to use yarn made of real 100% wool. Wool sucks away moisture and helps reduce static cling. Using yarn made with a mix of wool and cotton or other material can make your dryer balls less effective.
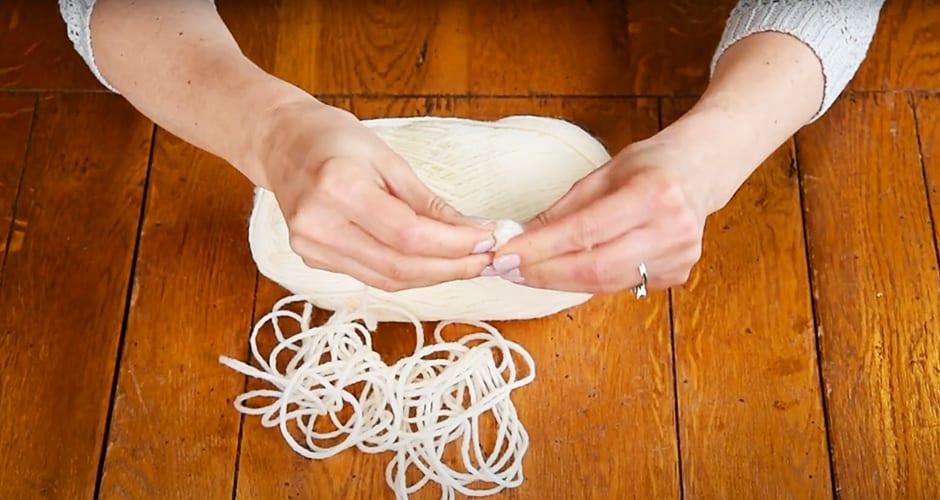
2. Begin by looping yarn
Loop the yarn around your fingers a few times and then start wrapping the yarn around the middle of the loop. Keep doing this over and over until it forms a little ball.
3. Wrap yarn from different angles
Once you’ve got a small ball of yarn in your hands, keep wrapping the yarn around it to make it bigger. First-time DIYers—make sure to wrap the yarn from multiple angles to ensure you end up with an even, round ball instead of an oblong or uneven shape.
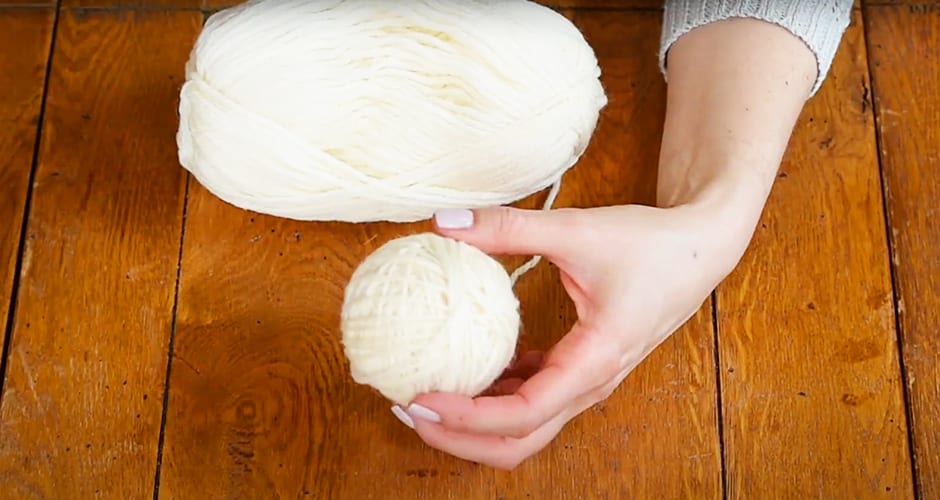
4. Size your DIY dryer balls appropriately
Think of your homemade dryer balls like fridge magnets. The larger the magnet, the more family pictures it can hold. Keep wrapping your yarn around until it’s the size of a tennis ball or larger for effective moisture suction. This should only take a couple of minutes.
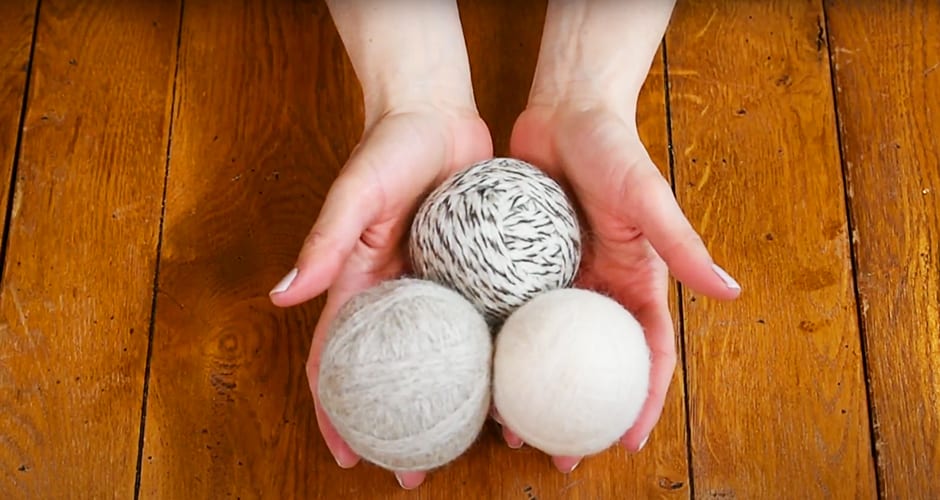
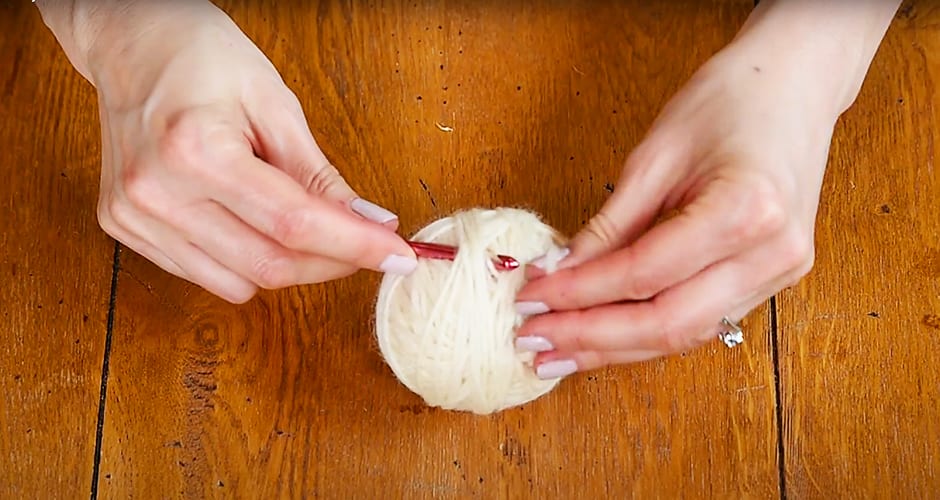
When you’re finished, cut the end off and pull it through your ball with a crochet hook to keep it from unwinding. You can repeat this process to make three homemade dryer balls to use together for maximum efficiency.
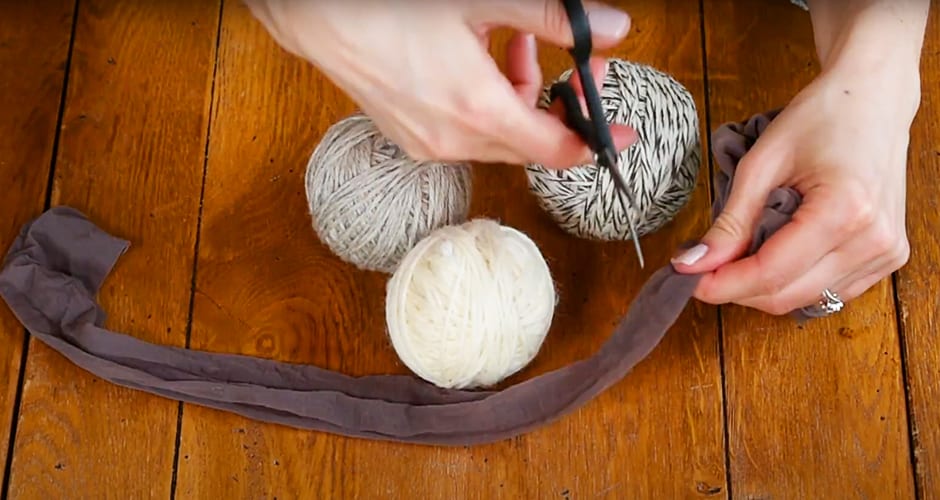
5. Wrap the ball in nylon
Don’t skip this crucial step in learning how to make wool dryer balls: Cut the leg off a pair of nylons and stuff the balls in the end, tying off the nylon between each ball to separate them. Tie a knot at the end to make sure they don’t fall out.
Easy peasy, your DIY dryer balls have been made in five minutes.

That felt good
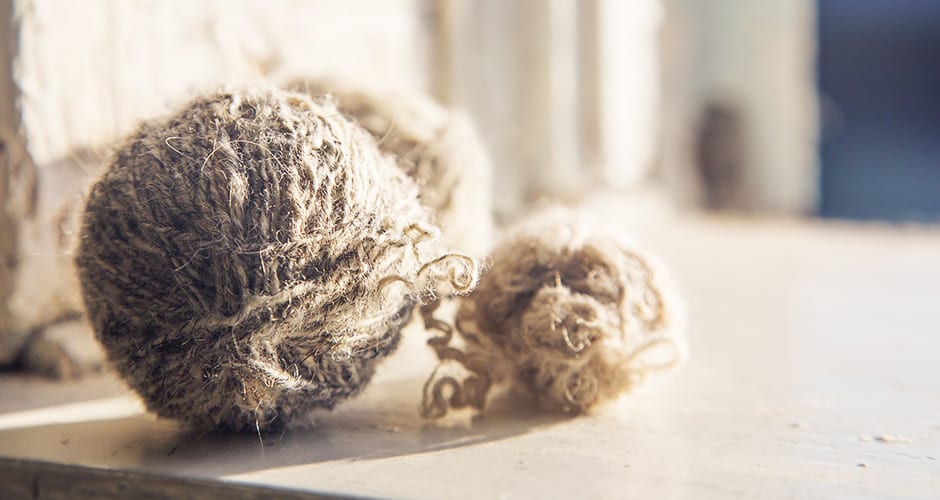
Now that you know the basics of how to make wool dryer balls, it’s not quite time for the dryer. First, the last finishing touches—felting your DIY dryer balls. Run your dryer balls through your Speed Queen washer’s hot water cycle and then dry them on high heat. Repeat this process until the balls are felted.
Freshen homemade dryer balls with essential oil
If you’re missing the scent that comes with dryer sheets, there’s an easy alternative to that as well. Use a couple drops of pure, high-quality essential oil to add a fresh smell to your DIY dryer balls.
Creating homemade dryer balls is a fun and easy craft that’s useful, cost-effective and environmentally friendly. Check out this video for an accompanying tutorial and more info on how to make wool dryer balls.